Vision Pack Integration
This tutorial will guide you through the process of connecting the Vision Pack to your Leo Rover. The Vision Pack is a hardware bundle that includes a ZED camera and a Jetson Orin Nano, designed to enhance the visual capabilities of your Leo Rover. By following this tutorial, you will learn how to integrate these components with your rover system, enabling advanced vision processing and perception capabilities.
What to expect?
After completing this tutorial, you will be able to run a Docker container with ROS Jazzy and ZED wrapper on your Jetson Orin Nano, and have the camera data published on ROS topics.
To see full information about the additional available ROS interfaces and configuration options, check the official ZED ROS wrapper documentation.
Prerequisites
Setting up the Jetson Orin Nano
It is recommended to set up the Jetson before mounting it on the rover. In that case you can use the Jetson with a regular monitor, keyboard and mouse, which makes the setup process easier.
In order to set up the Jetson Orin Nano, you will need to flash the official NVIDIA image on it and update the firmware. Follow the steps below to complete the setup:
- Go through the official Jetson Orin Nano setup guide.
- During flashing, install JetPack 6.2.1 with L4T firmware at least 36.4.0.
- Ensure the Jetson has internet access (either via Ethernet or Wi-Fi) before proceeding.
- Finish the initial setup and create a user account when prompted.
- Ensure that your Jetson is running in
MAXN SUPERmode for optimal performance.
You can find all the JetPack images in the JetPack Archive.
After the initial setup is complete, install the latest packages and the NVIDIA Container Toolkit runtime on the Jetson. Run the following commands directly on the Jetson (either with an attached display or over SSH):
sudo apt update && sudo apt upgrade
sudo apt install -y nvidia-container-toolkit
sudo nvidia-ctk runtime configure --runtime=docker
sudo systemctl restart docker
Now you can turn off Wi-Fi on Jetson since later on it will be connected to the rover's network via ethernet.
At this point you can proceed with the hardware integration and mounting the Jetson on the rover.
Hardware integration
The Vision Pack includes all necessary mounts, screws, and cables required to install the NVIDIA Jetson Orin Nano and the ZED2i camera on your Leo Rover. The pack has been designed to ensure a straightforward and robust assembly process.
Mounting
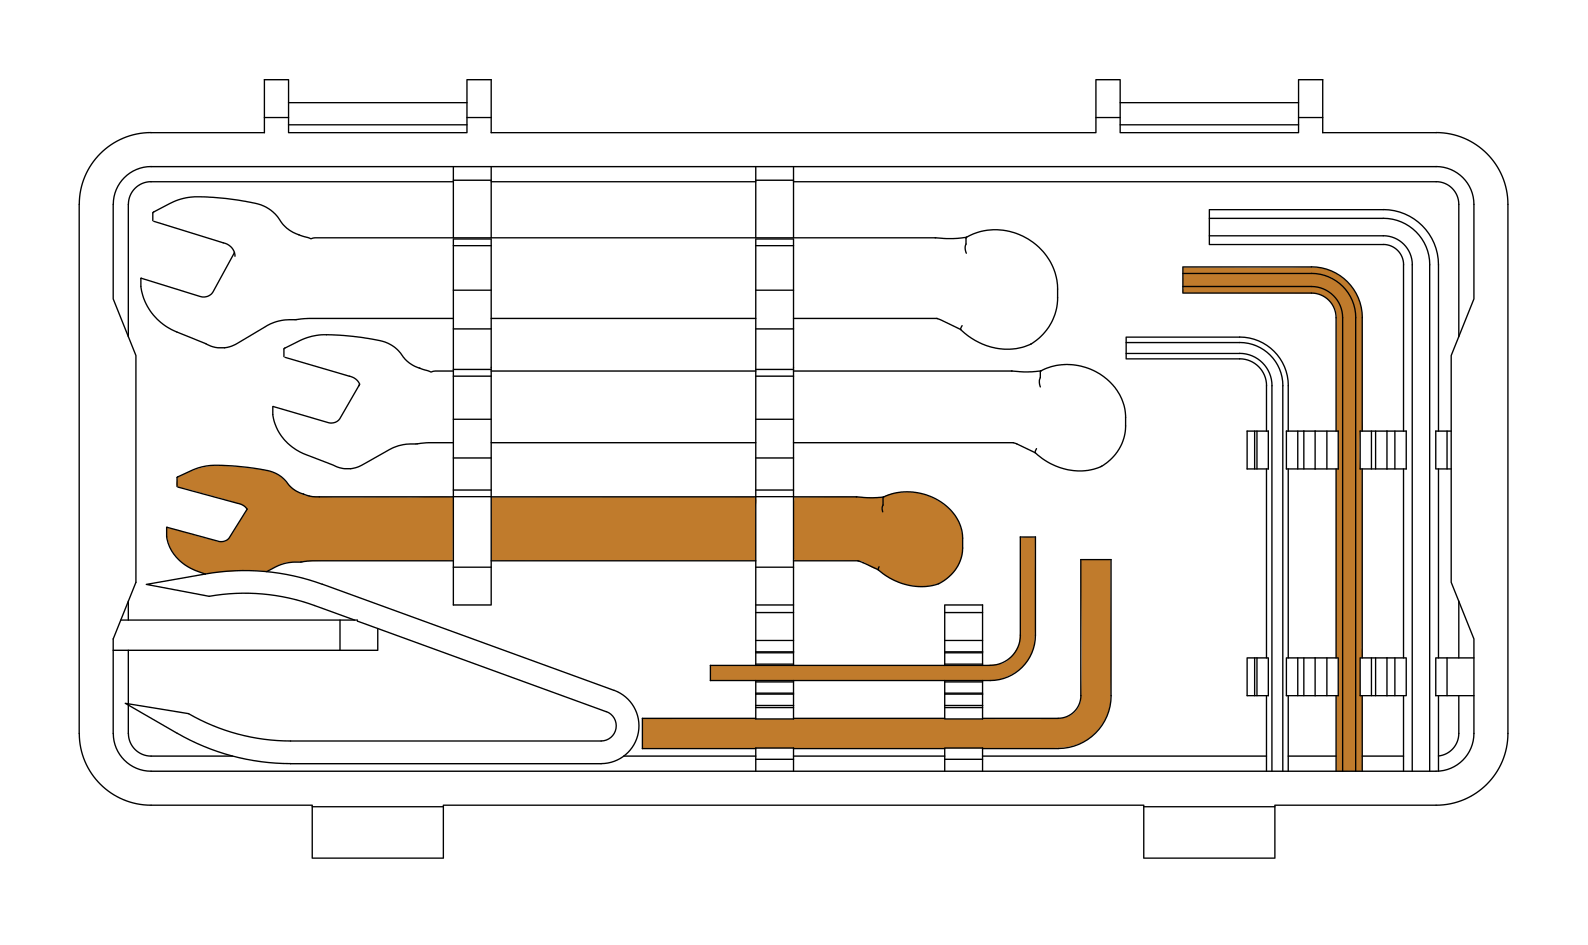
Three Allen keys (sizes: 2.5, 3, and 4 mm) are required for the mechanical installation. Please note that these tools are not included in the kit.
To assemble the pack, first insert the Jetson Orin Nano into the base mounts as shown below.
render - base with Jetson
Secure the Jetson with the 3D-printed bracket using M3 x 8 bolts, then install the ZED mount with M4 x 16 bolts.
render with mounting details
Place the Ethernet adapter in its mount and secure it with the 3D-printed holder and M3 x 8 bolts.
render with arrows
Mount the ZED2i camera using M3 x 8 bolts.
Make sure the camera is mounted square to the front of the rover. Proper alignment is crucial for the default URDF values to correctly represent the camera's position in the robot model.
render - camera position
The assembled Vision Pack can be mounted on the Leo Rover using M5 x 10 bolts:
render - final assembly
Wiring
To integrate the Vision Pack electronics with the Leo Rover:
- Connect the USB-C cable from the USB-to-Ethernet adapter to the rover's external interface. Ensure the cable is routed neatly and folded so it does not interfere with the Jetson's cooling fan.
- Connect the Ethernet adapter to the Jetson Orin Nano using the provided Ethernet cable.
- Connect the ZED2i camera to one of the Jetson's USB-A ports using the dedicated screw-in cable.
- Replace the standard MEB-battery cable with the provided version that includes a barrel jack. Connect the jack to the Jetson's power port.
The photo below illustrates the correct cable routing and connections.
(zdj kabli)
Once all cables are connected and verified, install the protective cover using M4 x 12 bolts. Take extra care to ensure that no cables are pinched or squeezed between the mechanical parts.
Software integration
In order to use the ZED camera with ROS, we will be using the official ZED ROS wrapper in a custom Docker container running on the Jetson.
Follow the steps below to bring the Vision Pack online and publish ZED data to ROS.
Sharing Leo Rover network with the Jetson
Since Jetson ethernet port is connected to the rover via a USB-to-Ethernet adapter, a new ethernet interface is created and it needs to be configured to bridge the rover's network to the connected device.
To do that, log in to the Raspberry Pi via ssh (either from Jetson or from your local machine) and open the Netplan configuration file that manages the ethernet bridge:
sudo nano /etc/netplan/10-eth-bridge.yaml
Add the eth1 interface configuration to the /etc/netplan/10-eth-bridge.yaml
file. The final file should look like this:
# Creates a bridge interface and adds ethernet interface to it.
network:
  version: 2
  ethernets:
    eth0:
      renderer: networkd
      optional: true
    eth1:
      renderer: networkd
      optional: true
  bridges:
    br0:
      renderer: networkd
      interfaces: [eth0, eth1]
      addresses: [10.0.0.1/24]
      link-local: []
Apply the new configuration:
sudo netplan apply && sudo systemctl restart hostapd dnsmasq
Now your Jetson should receive an IP address in the 10.0.0.x range and be
accessible from the rover network.
In order to find the Jetson's IP address, you can use nmap from your local
machine connected to the Leo Rover network:
sudo apt install -y nmap
nmap -sP 10.0.0.1/24
Creating ZED camera ROS configuration
Before launching the ZED wrapper container, you need to create a configuration file for the camera. This file will contain the parameters for the ZED camera and will be mounted into the container to configure the ROS node.
On Jetson, create folders for configs and logs on the host:
sudo mkdir -p /opt/zed_ros/{config,logs}
sudo chown -R $USER /opt/zed_ros
Add a parameter file under /opt/zed_ros/config:
sudo apt install -y nano
nano /opt/zed_ros/config/zed2i.yaml
And add the following content to the file:
/**:
  ros__parameters:
    general:
      camera_model: 'zed2i'
      camera_name: 'zed2i'
      grab_resolution: 'HD1080'
      grab_frame_rate: 15
    video:
      brightness: 4
      contrast: 4
      hue: 0
    depth:
      min_depth: 0.01
      max_depth: 15.0
    pos_tracking:
      publish_tf: false
These are just example parameters - tune them as needed and refer to the ZED ROS wrapper documentation for the full list of options.
Setting up the ZED wrapper container
Pull the prebuilt image with ROS Jazzy and ZED wrapper from our registry onto the Jetson (the process might take a long time depending on your internet connection and writing speed of the SD card):
sudo docker pull ghcr.io/fictionlab/jetson_ros_jazzy_zed:latest
Ensure that your Jetson has internet access to pull the image. Further internet access might be required on camera startup if the ZED wrapper needs to download additional assets like calibration files or detection models.
Start the ZED wrapper container whenever you need the camera online. This run command exposes the GPU, host networking, and the ZED calibration assets to the container:
sudo docker run --rm --runtime nvidia -it --privileged --network=host --ipc=host --pid=host \
  -e NVIDIA_DRIVER_CAPABILITIES=all -e DISPLAY=$DISPLAY \
  -v /tmp/.X11-unix/:/tmp/.X11-unix \
  -v /dev:/dev \
  -v /dev/shm:/dev/shm \
  -v /usr/local/zed/resources/:/usr/local/zed/resources/ \
  -v /usr/local/zed/settings/:/usr/local/zed/settings/ \
  -v /opt/zed_ros/config:/data:ro \
  ghcr.io/fictionlab/jetson_ros_jazzy_zed:latest
Once you see the container shell prompt, source both the ROS installation and
the workspace overlay, then launch the wrapper for the zed2i camera using the
host configuration mounted at /data/zed2i.yaml:
source /opt/ros/jazzy/install/setup.bash
source /root/ros2_ws/install/setup.bash
ros2 launch zed_wrapper zed_camera.launch.py camera_model:=zed2i ros_params_override_path:=/data/zed2i.yaml
At this point the rover computer should see the ZED ROS interfaces.
When launching ZED for the first time it might need some time to initialize the camera and generate the calibration files. Because of that, the topics might not be available immediately.
Modifying the URDF to include the Vision Pack
To ensure proper TF frames and integration with the rest of the rover system, you will need to add the ZED camera to the URDF model of the rover.
To do that log in to the Raspberry Pi and install the zed_description package
that contains the URDF macros for ZED cameras:
sudo apt update
sudo apt install ros-${ROS_DISTRO}-zed-description
Then create new xacro macro for the vision pack in /etc/ros/urdf directory:
nano /etc/ros/urdf/zed2i.urdf.xacro
And add the following content to the file:
<?xml version="1.0"?>
<robot xmlns:xacro="http://www.ros.org/wiki/xacro">

  <xacro:include filename="$(find zed_description)/urdf/zed_macro.urdf.xacro" />

  <xacro:zed_camera name="zed2i" model="zed2i">
    <gnss_origin xyz="0 0 0" rpy="0 0 0" />
  </xacro:zed_camera>

  <joint name="base_to_zed2i_joint" type="fixed">
    <parent link="base_link"/>
    <child link="zed2i_camera_link"/>
    <origin xyz="0.144 0 0.023" rpy="0 0 0"/>
  </joint>

</robot>
If you have mounted the ZED camera in a different position or orientation than
the one specified in the hardware integration section, make sure to update the
origin tag in the joint definition accordingly.
Now, open the main URDF file:
nano /etc/ros/urdf/robot.urdf.xacro
And include the previously created file before the closing </robot> tag:
<xacro:include filename="/etc/ros/urdf/zed2i.urdf.xacro"/>
After saving both files, apply the updated robot description:
ros-nodes-restart
You should now be able to see the ZED camera frames in the robot's TF tree.
(Optional) Launching the container on boot
If you want the ZED camera to be available immediately after the Jetson boots
up, you can follow the steps below to set up a systemd service to run the
container and mount a host directory for configs and logs.
Perform these steps on the Jetson outside of the container.
Create a new Docker Compose file for the ZED wrapper container in previously
created directory /opt/zed_ros:
nano /opt/zed_ros/docker-compose.yml
Save the following content to the file (adjust environment overrides as needed):
services:
  zed-wrapper:
    image: ghcr.io/fictionlab/jetson_ros_jazzy_zed:latest
    container_name: zed-ros-wrapper
    restart: unless-stopped
    network_mode: host
    ipc: host
    privileged: true
    runtime: nvidia
    environment:
      - RMW_IMPLEMENTATION=rmw_cyclonedds_cpp
      - ROS_DOMAIN_ID=0
    volumes:
      - /opt/zed_ros/config:/data:ro
      - /opt/zed_ros/logs:/root/.ros/log
      - /dev/bus/usb:/dev/bus/usb
      - /etc/localtime:/etc/localtime:ro
    command: >
      ros2 launch zed_wrapper zed_camera.launch.py camera_model:=zed2i
      ros_params_override_path:=/data/zed2i.yaml
Add the systemd unit /etc/systemd/system/zed-ros-wrapper.service:
sudo nano /etc/systemd/system/zed-ros-wrapper.service
And add the following content to the file:
[Unit]
Description=ZED ROS 2 Wrapper container
After=network-online.target docker.service
Requires=docker.service

[Service]
Type=exec
WorkingDirectory=/opt/zed_ros
ExecStart=/usr/bin/docker compose up --remove-orphans
ExecStop=/usr/bin/docker compose down
Restart=always
TimeoutStartSec=0

[Install]
WantedBy=multi-user.target
Enable and start the service:
sudo systemctl enable --now zed-ros-wrapper
You can use journalctl -u zed-ros-wrapper -f to follow the logs and ensure the
container starts correctly.
To restart the container manually, use sudo systemctl restart zed-ros-wrapper.
Now the ZED wrapper container will start automatically on boot, and you can manage your configurations and logs easily from the host filesystem.
What's next?
ZED camera can be used in projects involving autonomous navigation. You might be interested in a tutorial about it.
You can also use the ZED camera for object detection using the ZED ROS wrapper's built-in detection capabilities.